MySQL Installation on Linux (Ubuntu)
MySQL is an open-source relational database management system. In this post we will go through the process to install MySQL on Linux based system (Ubuntu).
First of all check for the installation of MySQL, if it is already installed on your version of Linux.
mysql
mysql --version 
Installing MySQL Server
sudo apt update 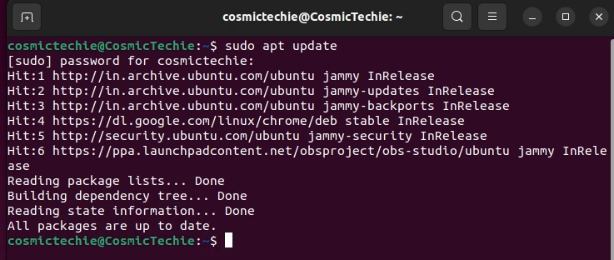
sudo apt install mysql-server 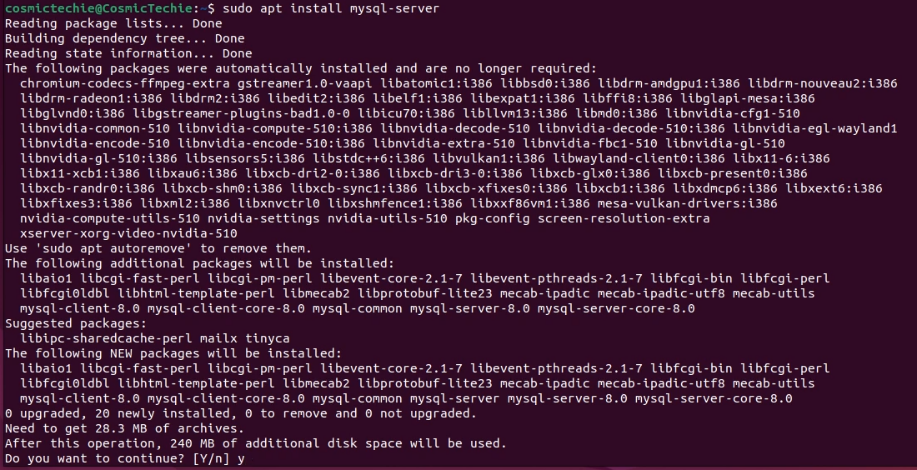
Check for Service Status
sudo service mysql status
sudo service mysql stop
sudo service mysql start 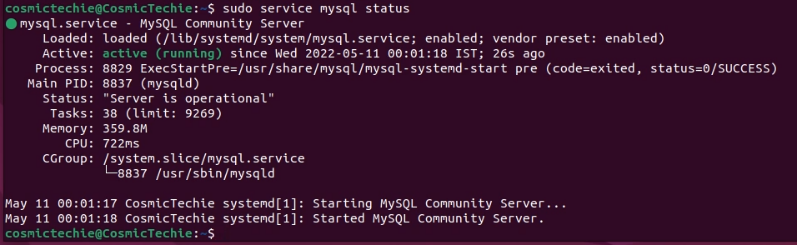
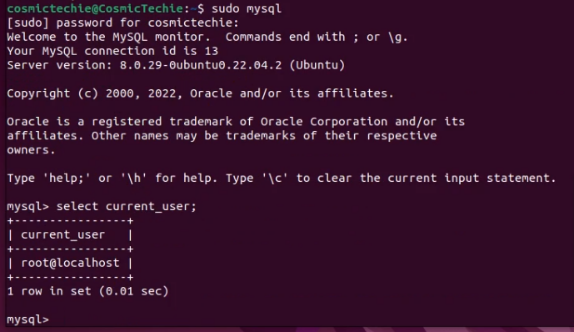
Accessing mysql
sudo mysql 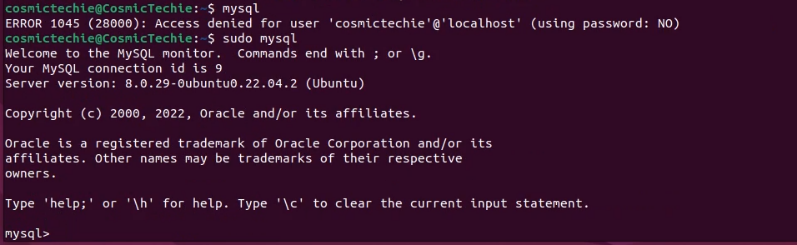
sudo mysql directly enters into the root access into mysql.
Create a new user
create user 'username'@'localhost' identified by 'password';
grant all privileges on  *.*  to 'username'@'localhost' with grant option;
flush privileges; 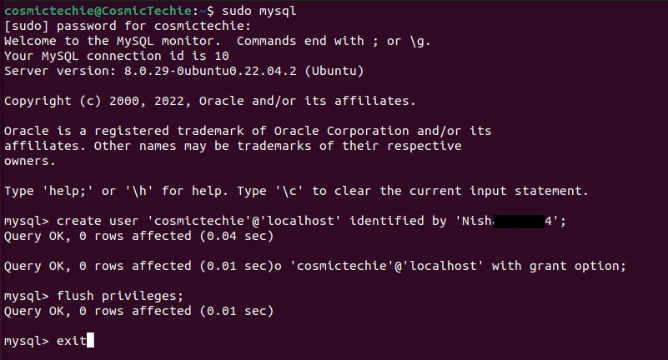
Login using new user
mysql -u username -p